French door refrigerators are known for their sleek design, easy access to fresh food items, and plenty of attractive features.
Despite these, many homeowners have reported that the refrigerators keep developing problems, so they end up spending a lot of money on appliance repair.
Do French door refrigerators have more problems? If the fridge has a bottom mount freezer, it’s bound to have more problems. This is because the freezer is the most complicated part of the fridge, and when it’s mounted at the bottom, it brings about plenty of issues.
Other problems your French door fridge might be having
Other than the bottom mount freezer, your fridge can have plenty of other issues that include:
Less vertical storage
French door fridges feature closely stacked fresh food shelves that make it hard to store sodas and magnums of wine due to their limited space.
Some fridges try to salvage the situation by having split shelves where one section slides out of the way, allowing you to store taller items on the shelf below, but this is still a problem as you can’t store a large pot.
They go at a higher price.
In addition to having limited vertical space, they often go at a higher price, often due to the many features they come with. This means when you are looking to own one of the units, you have to part with a substantial amount of money.
External dispensers keep failing.
Many French door refrigerators come with a through-the-door ice and water dispenser that keeps failing, and this can burn a huge hole in your pocket.
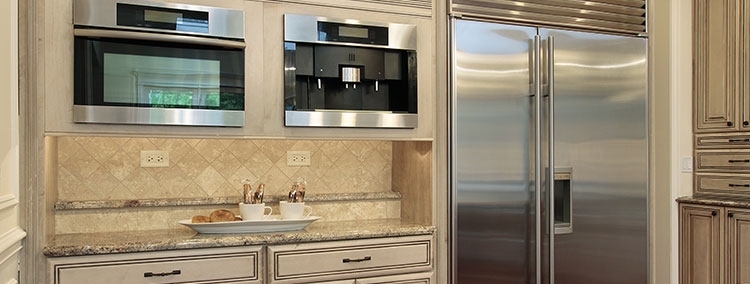
They can be too large.
The refrigerator designers are all about designing units that are as large and feature-packed as possible, so if you live in an old home, the appliance might not be too large for your home, giving your house a weird look after installing them.
The refrigerators are also bulky, so when you install them in a small kitchen, the kitchen might appear swallowed up.
The units aren’t energy efficient.
Due to all the features on them, refrigerators consume more energy than other units in the market. This means when you own one, you always have a high energy bill at the end of every month.
Still interested in a French door refrigerator?
It’s no doubt that French door fridges have issues as you need to repair them more often and they cost more, but if you feel they are right for you, there is no reason you shouldn’t buy them.
When buying the pieces, ensure you are cautious. For example, ensure you buy a fridge with a freezer drawer that can pull all the way out. You can also opt for a fridge with two freezer drawers at the bottom, one on top of the other.
As mentioned, French door fridges are larger than other fridges, so before you head to the stores, ensure you have enough space to store them.
Where will you be using the fridge? In the kitchen or the utility area? Ensure the fridge you are looking to buy is compatible with this space.
When choosing where to store the fridge, remember that the fridge doors open on both sides, so store the fridge in an area that allows you to open the door from both sides.
You don’t want to spend your entire income paying your energy bill, do you? So you should pay close attention to the energy star rating of the appliance.
Although, you should expect the unit to consume more energy than a standard fridge, the difference shouldn’t be too much. For a great experience, ensure your fridge has a high energy star rating.
The final thing to do is to buy a unit that is pleasing to the eye. As mentioned, the fridge doesn’t come cheap, and you shouldn’t spend all of your money on an ugly appliance, so ensure the fridge you are looking to buy has a beautiful finish and is aesthetic to look at.
To settle on a given look, consider your home décor. Will the décor suit a matte texture, metallic color, or something different? It’s up to you to decide.
If not sure about the right unit to go for, ask a refrigerator repair Fairfax professional to help you out.
The post Do French door Refrigerators Have More Problems? first appeared on HVAC Repair, appliance repair. The post appeared first on Express Appliance Repair